 |
| My kids have too many toys! |
So, let's get down to business. The supplies:
 |
| Supplies |
1.5 yds of 54" wide fabric (trust me when I say a typical 36" wide fabric makes too small of a bag - remember those mistakes I mentioned....you could probably do 45" wide if you want a smaller bag, however)
16 - 1/4" eyelets
Rope
Tape Measure
Hammer (for eyelets)
Marker (whatever your favorite method of marking fabric)
Rotary Cutter and Mat (or scissors)
Let's discuss the rope for a minute...hubby bought the rope I used in this project at Home Depot. I used 2 bag's worth to make 5 cinch bags. I tried cording rope (from fabric store) for my trial and quickly discovered it was just too "sticky." This alternate rope is nice and smooth making it glide nicely for easy, kid-friendly cinching! The bonus is the price: $5 for the bag!
 |
| Rope from Home Depot |
1. Fold your fabric into quarters so that all of the folds and raw edges line up (fold in half lengthwise, then in half widthwise - or vice versa)
2. With a tape measure, mark fabric at 28" from folded corner around in a semi-circle always careful to measure from the corner where all of the folds come together (you can modify this to 25" or 26" if the fabric store was stingy and gave you exactly or less than your 1.5 yds or cut your fabric crooked - I was able to cut all of mine at 28" with a little room to spare even)
 |
| Fold and mark a semi-circle cut line |
3. Use your rotary cutter to cut the semi-circle (or scissor if that's your preferred method, but since your fabric is quartered, I'd recommend a quick pinning if you go the scissor route to keep it all lined up)
 |
| A semi-circle unfolded = CIRCLE! |
5. Run that perfect circle through your serger. Don't have one? Don't fret, run a zig-zag stitch along the inside edge or use pinking shears to make your original semi-circle cut.
 |
| secure your raw edge however you prefer, but don't skip this step - you want your bag to last, right?! |
 |
| My mannequin got a workout! |
6. Fold over and sew approx. 1" hem around the entire edge. You can be a perfectionist and press first, but who has time for that? Since you're sewing around a circle, you will need to allow for a fold in your hemline to account for the difference in circumference from outer edge to your sewing line (1" in). Just allow the fabric to fold over itself every couple of inches to accommodate this. It's really no big deal - don't let it stress you out!
 |
| See the pucker building up? Just fold it over itself and sew right over it. See, it's ok! |
 |
| The arrows indicate where the eyelets will go. |
 |
| Quartering the fabric before measuring will save you time and energy on installing the eyelets. One measure, one mark, but install on each layer individually |
 |
| Close up (no, you're eyes are not deceiving you, it is a different fabric) |
9. Thread the rope through the eyelets. If you've done it right, there should be the perfect number that both ends come out the same direction. Be sure that there is enough rope that the circle can lay open flat (this is the play mat, too, remember!) and secure the ends together.
10. Load up the toys!
 |
| Feed the rope through with enough slack that the circle can lay flat |
 |
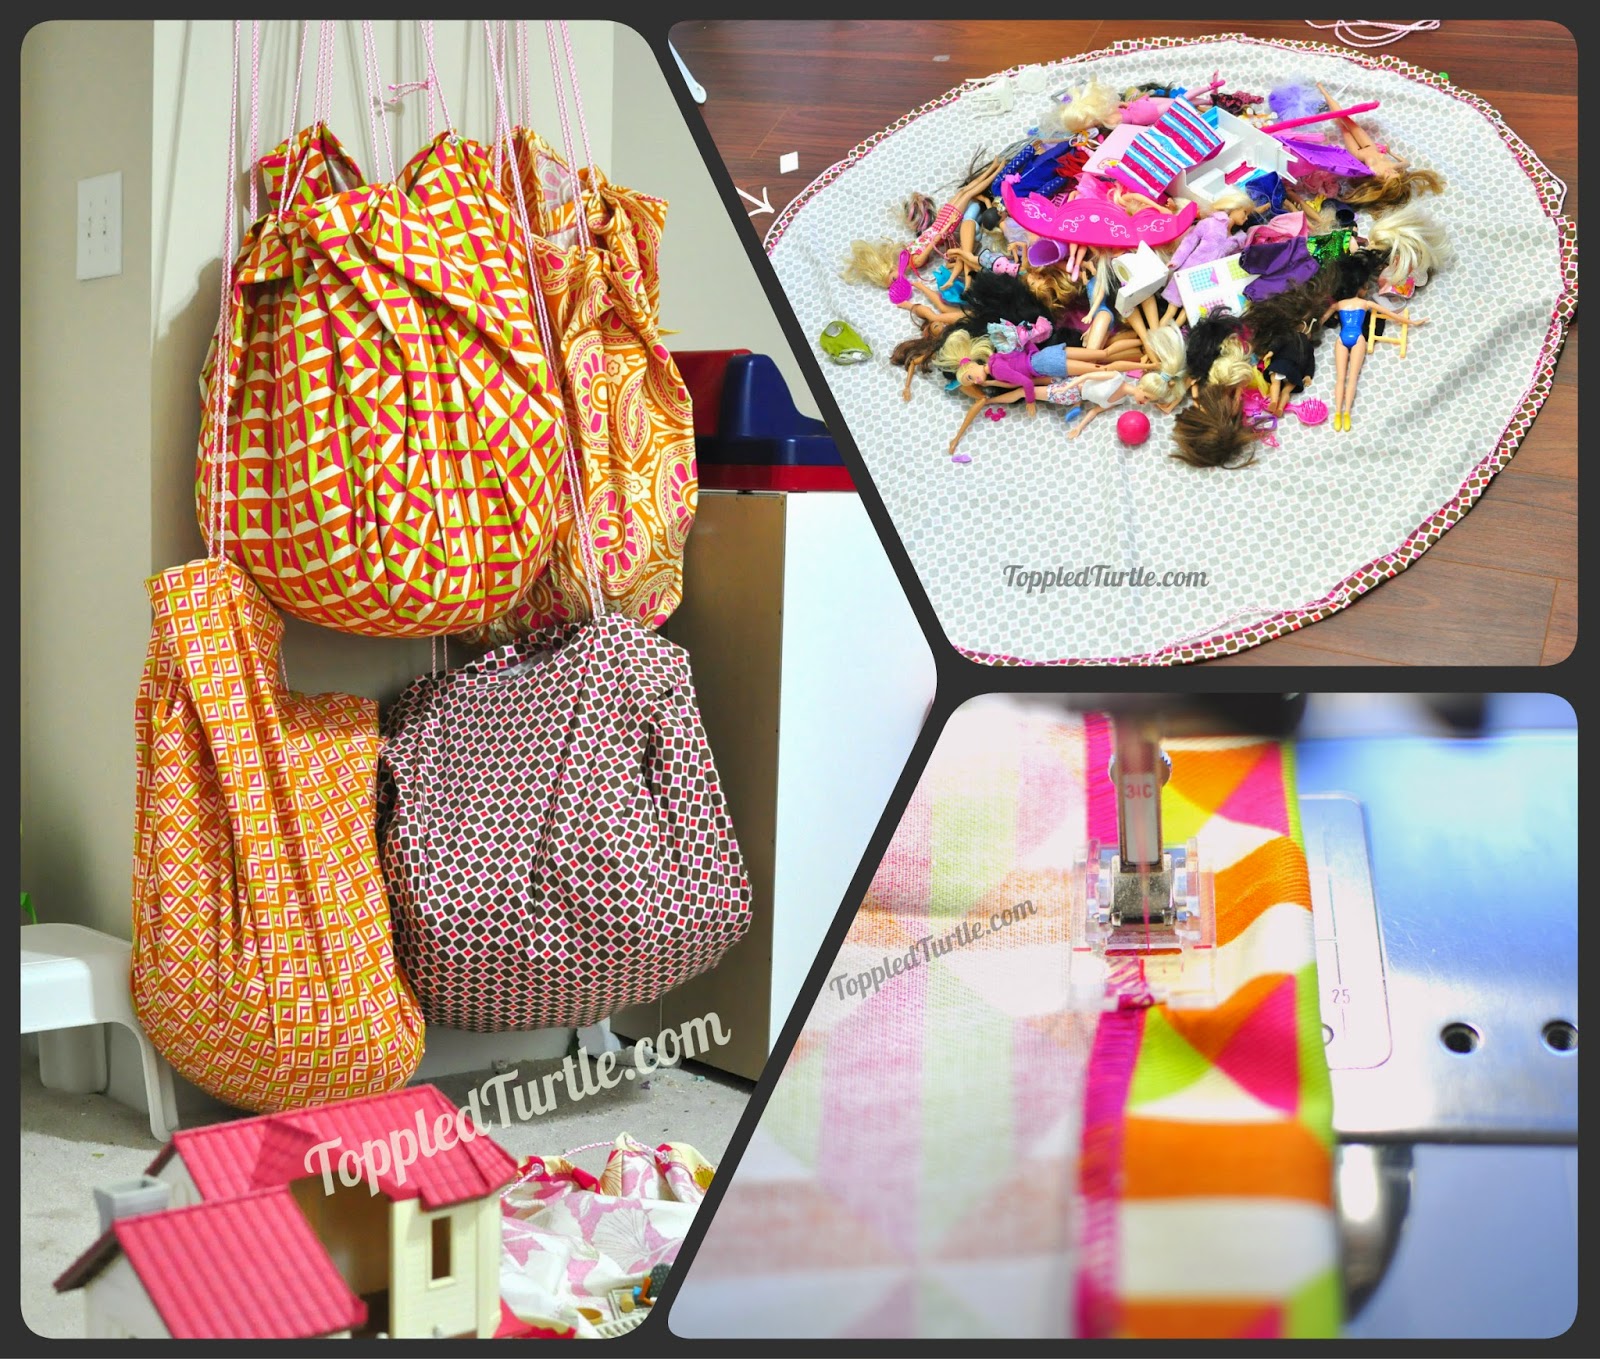
| In action. 4 bags hanging and 1 open for play (see how huge some are - I need to pare down the doll accessories and Barbies!) |
I hope you've found this blog useful! I love comments and reply to questions when asked, so ask away! Best of all, enjoy your clean play area!
No comments:
Post a Comment